Batch Processing
R3DS Rush is an easy to use tool to run Wrap4D computations over a network. It allows running the computation on dozens of machines with just a few clicks. R3DS Rush works in combination with R3DS Node which is a headless computational node and performs all the heavy computations.
If you are created a project in Wrap4D on our computer and tell Rush that needs to compute this project over a specific frame range. Rush sends the tasks to Nodes and the Nodes perform the computations.
In this scheme, you can see a simple network configuration.
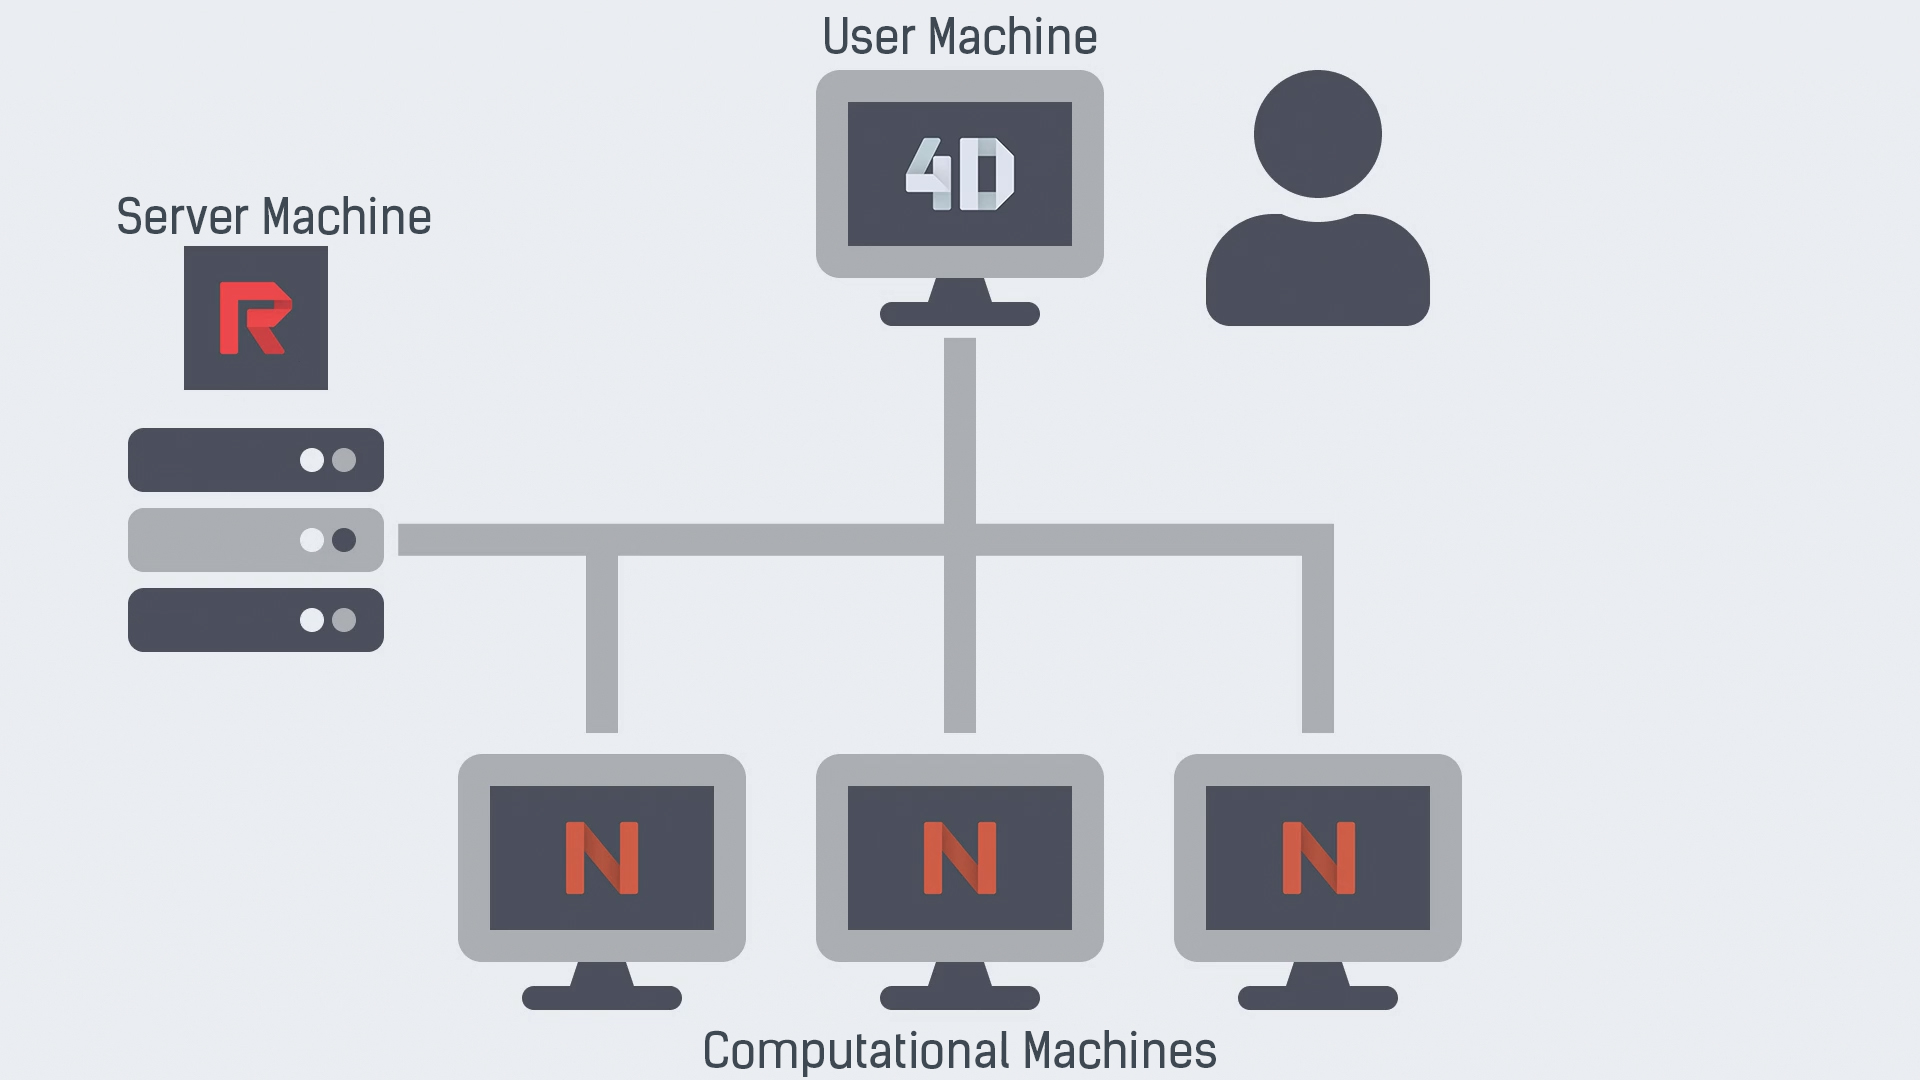
User Machine
A computer where Wrap4D has installed. Used to create projects and start computations.
Computational Machines
Computers where R3DS Node has installed. You can use as much computers as licenses of nodes you have.
Server Machine
This is a computer where the R3DS Rush application has installed and is running. Rush controls the set of computational nodes: it provides them with tasks, starts, stops, and pauses them.
Tip
This scheme is very flexible. For example, you can have the Rush application running on the same machine as Wrap4D. It’s also possible to use this machine as a computational node as well. So basically, all 3 applications may be running on a single computer if needed.
Installation
Rush
When the wizard is finished, the web interface for Rush appears in your browser:
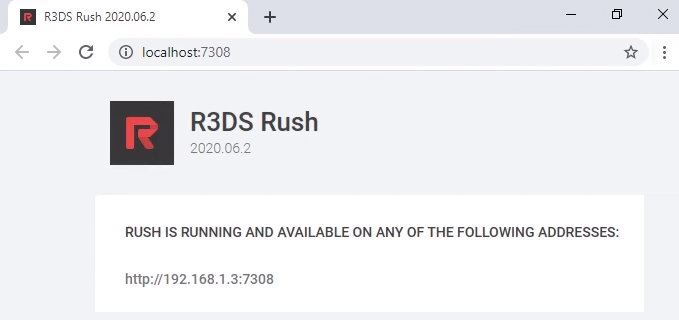
Here you can find your network address which will connect computational nodes with a server machine.
Node
When the wizard is finished, I will see the tray icon. Lets choose Open web interface inside the context menu of that icon.
Tip
If the tray icon is not displayed, you may run the process inside installation directory of R3DS Node using the NodeTray.exe file.
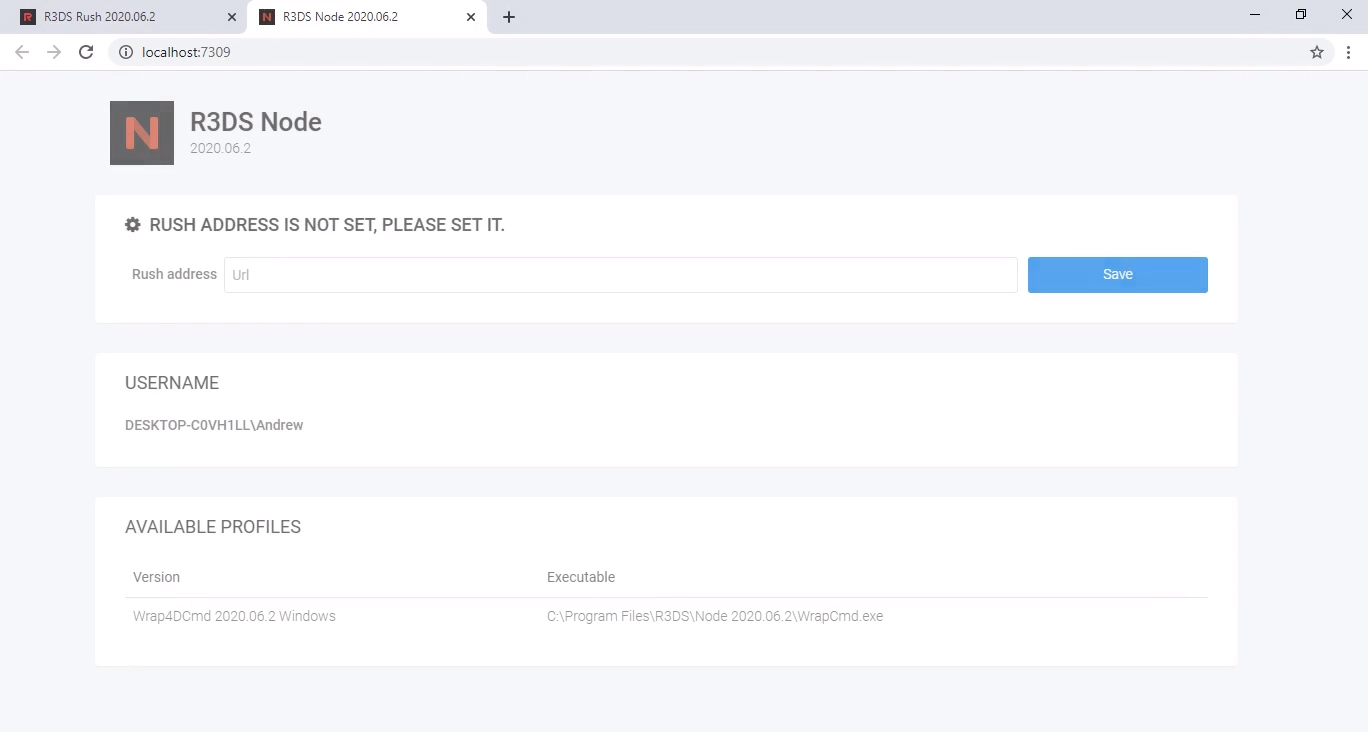
Here is you need to paste your network adress which you copied from Rush web interface inside Rush adress field. After that click Save button and check if the green text Rush connection established appears.
Activation
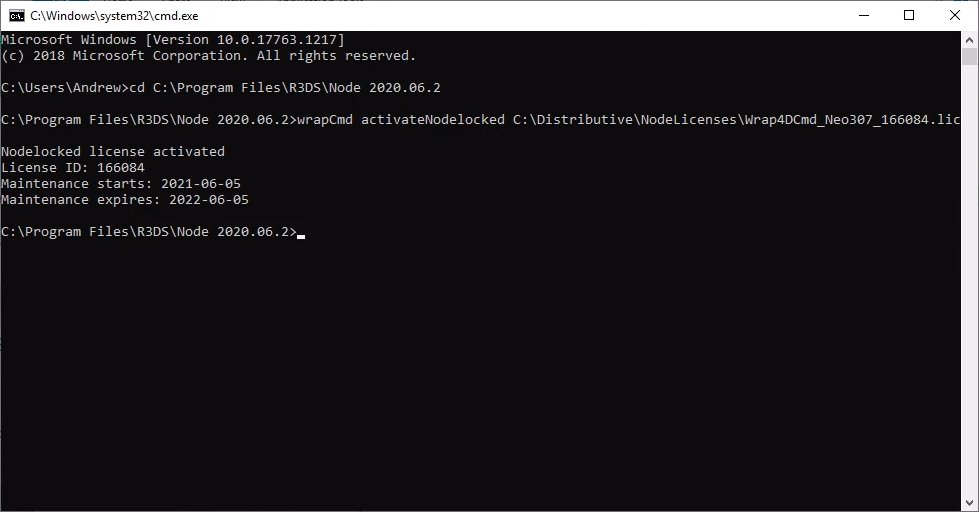
To activate R3DS Node you need to use a command-line interface.
Use this command to activate a node-locked license:
WrapCmd activateNodelocked <pathToLicense>
Use this command to activate a floating license:
WrapCmd activateFloating <hostAddress> <port>
Arguments
pathToLicensea path to a license file *.lic. If the file name contains spaces please use double quotes.
Tip
Use command cd to switch to the installation folder.
After the activation R3DS Node on each computational machine, we can focus only on the User and Server machines.
R3DS Rush activates together with Wrap4D.
User Interface
First Run
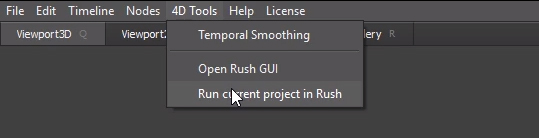
To run the R3DS Rush interface you need to load any project in Wrap4D and go to the 4D Tools menu and select Run the current project in Rush.
For the first run you need to provide the network address of Rush. You can copy and paste it from the Rush web interface and click the Save button after that.
Tabs
There are 5 main tabs inside R3DS Rush. They are displayed as vertical icons on the left side of the application.
Tip
Uncheck Start Immediately to forbid Rush to start selected project immediately.
Projects
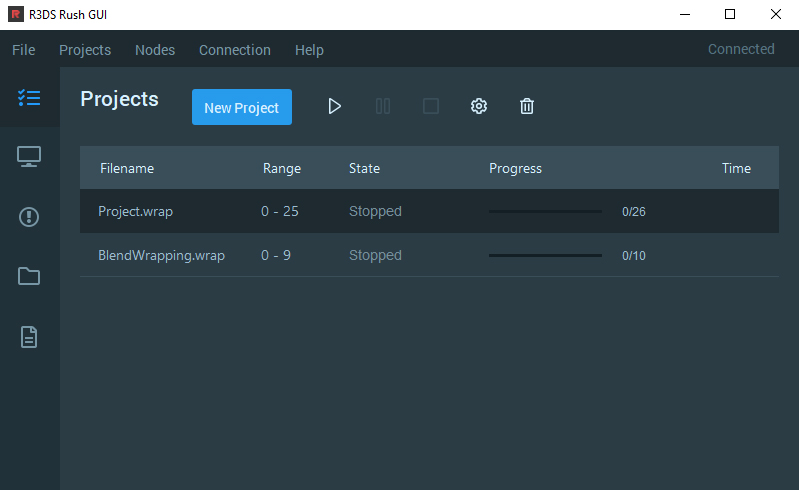
Shows the list of projects which have been already added to Rush. Each project of the list has its own filename, frame range, State, Progress and Time params. You can edit project params using Edit Project icon. In this tab you can also run/start/stop, add and delete any project(s).
Nodes
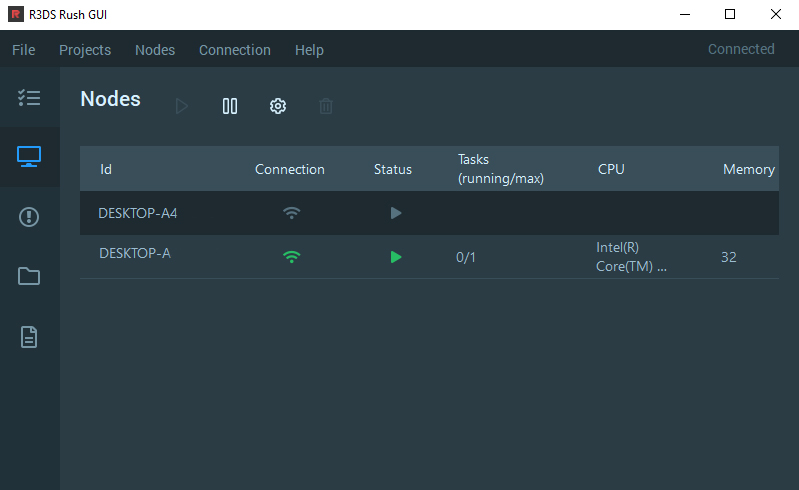
Shows the list of nodes which have been already installed using the Rush network address of the current Server. Each node of the list has its own Connection, Status, Tasks, CPU and Memory params. You can edit node params using Edit Node icon. In this tab you can also run/stop/pause and delete any node(s).
Tip
If the Connection param of the selected node is colored in gray, it means that the current node has not started yet. To start it click Start inside the context of the Node icon in the tray menu.
Tip
You can choose the number of tasks for each Computational Machine. It means, that if you will choose 2 tasks on 1 node inside the Edit Node icon, then two frames will compute on this machine in parallel.
Warning
For Wrapping, OpticalFlowWrapping, and FacialWrapping, we would recommend using no more than two instances. A higher number may lead to a drop in performance.
Errors
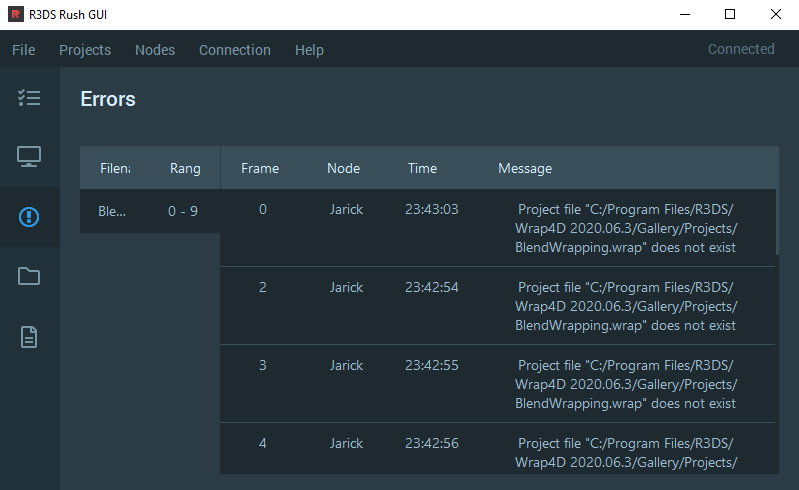
Shows the info about errors which have appeared during the computation. For each project you can check the Frame, Message, Node and Time of frames which didn’t succeeded.
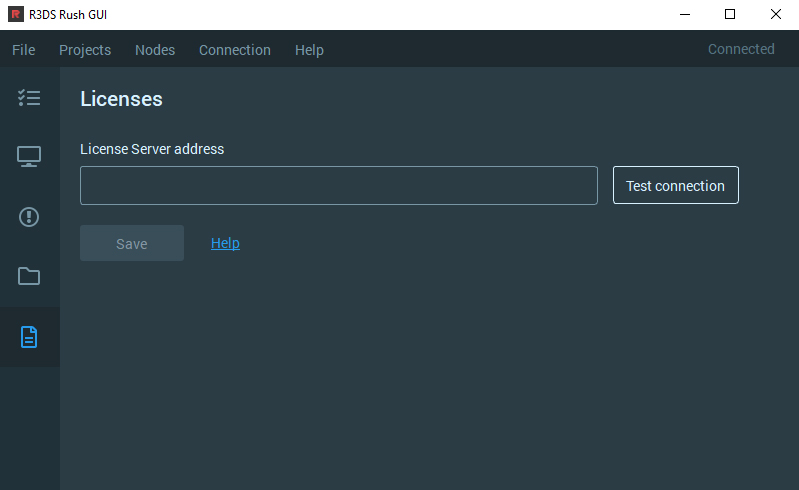
Directories
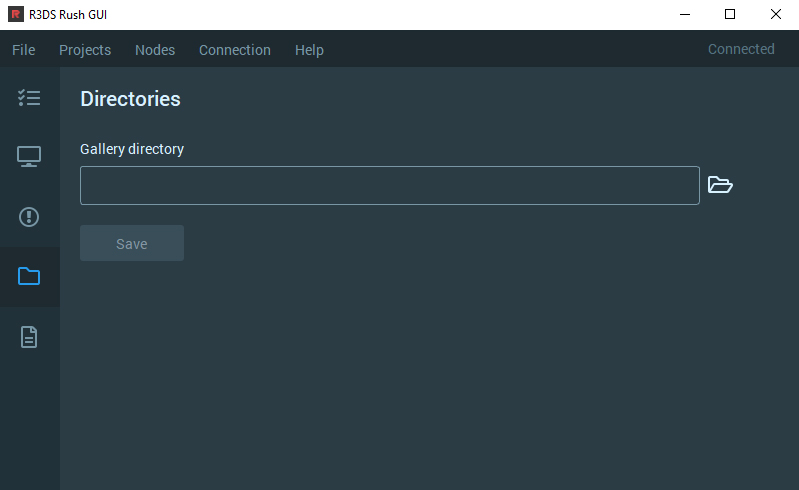
Here you can choose the Gallery directory using a network adress.
Tip
Generally, Wrap4D gallery is generally very large. It normally contains several gigabytes of data, so it’s not convenient to have a copy of the gallery on each machine. Instead, you can put the gallery into a shared folder and provide the R3DS Node with its address.